【Python】kintone(キントーン)にJSONPlaceholder APIから得たデータを登録する方法

【Python】kintone(キントーン)にJSONPlaceholder APIから得たデータを登録する方法


本記事では、Pythonを活用して、kintoneと他のAPIを連携させる例として、JSONPlaceholderとkintone REST APIの連携を実施しました。この記事を読めば、pythonを活用してkintoneと他のAPIを連携させる方法が理解できるでしょう。


目次


本記事の概要

  • pythonを使って、他のAPIから入手したJSONデータを、kintoneで作成したアプリ内のテーブルに登録する方法をまとめてます。

  • 全体の構成は、以下のようなシーケンスです。

1
2
3
4
5
6
7
8
9
10
11
12
13
14
15
[JSONPlaceholder]       [Python Code]            [kintone REST API]      [kintone App]
| | | |
| -- GET /posts --> | | |
| | | |
| [Extract Data] | |
| | | |
| | -- Format Data --> | |
| | | |
| | | -- POST /record -> |
| | | |
| | | |
| | | <- Response ----- |
| | | |
| | <- Handle Response -- | |
| | | |
  • ここからは、kintoneでのアプリ作成やシーケンス内の[Python Code]の作成手順をまとめます。

PythonでJSONPlaceholderのAPIを叩いてみる

  • 以下のコードでJSONPlaceholderのAPIが叩けます。
: sample.py
1
2
3
4
5
6
7
8
import requests

# Jsonplaceholderからデータを取得
url = 'https://jsonplaceholder.typicode.com/posts'
response = requests.get(url)
posts = response.json()

print(posts)
  • 出力結果は下記の通り。
:
1
2
3
[{'userId': 1, 'id': 1, 'title': 'sunt aut facere repellat provident occaecati excepturi optio reprehenderit', 'body': 'quia et suscipit\nsuscipit recusandae consequuntur expedita et cum\nreprehenderit molestiae ut ut quas totam\nnostrum rerum est autem sunt rem eveniet architecto'}, {'userId': 1, 'id': 2, 'title': 'qui est esse', 'body': 'est rerum tempore vitae\nsequi sint nihil reprehenderit dolor beatae ea dolores neque\nfugiat blanditiis voluptate porro vel nihil molestiae ut reiciendis\nqui aperiam non debitis possimus qui neque nisi nulla'}, {'userId': 1, 'id': 3, 'title': 'ea molestias quasi

(省略)
  • userの数が多いので、今回はuserIdが1と2だけを抽出します。
: sample.py
1
2
3
4
5
6
7
8
9
10
11
import requests

# Jsonplaceholderからデータを取得
url = 'https://jsonplaceholder.typicode.com/posts'
response = requests.get(url)
posts = response.json()

# userIdが1, 2の投稿のみ抽出
filtered_posts = [post for post in posts if post['id'] in [1, 2]]

print(filtered_posts)
  • 出力結果は以下の通り
1
[{'userId': 1, 'id': 1, 'title': 'sunt aut facere repellat provident occaecati excepturi optio reprehenderit', 'body': 'quia et suscipit\nsuscipit recusandae consequuntur expedita et cum\nreprehenderit molestiae ut ut quas totam\nnostrum rerum est autem sunt rem eveniet architecto'}, {'userId': 1, 'id': 2, 'title': 'qui est esse', 'body': 'est rerum tempore vitae\nsequi sint nihil reprehenderit dolor beatae ea dolores neque\nfugiat blanditiis voluptate porro vel nihil molestiae ut reiciendis\nqui aperiam non debitis possimus qui neque nisi nulla'}]
  • なお、これだと出力結果が見にくいので、json形式で出力させたいと思います。
  • jsonというライブラリを活用します。
: sample.py
1
2
3
4
5
6
7
8
9
10
11
12
import requests
import json

# Jsonplaceholderからデータを取得
url = 'https://jsonplaceholder.typicode.com/posts'
response = requests.get(url)
posts = response.json()

# userIdが1, 2, 3の投稿のみ抽出
filtered_posts = [post for post in posts if post['id'] in [1, 2]]

print(json.dumps(filtered_posts))
  • ポイントは、filtered_postsに対して、json.dumpsを施してるところです。
  • json.dumpsを記載の上、下記コマンドを実行することで、json形式で出力できます。
: コマンド
1
python sample.py | python -m json.tool
: 出力
1
2
3
4
5
6
7
8
9
10
11
12
13
14
[
{
"userId": 1,
"id": 1,
"title": "sunt aut facere repellat provident occaecati excepturi optio reprehenderit",
"body": "quia et suscipit\nsuscipit recusandae consequuntur expedita et cum\nreprehenderit molestiae ut ut quas totam\nnostrum rerum est autem sunt rem eveniet architecto"
},
{
"userId": 1,
"id": 2,
"title": "qui est esse",
"body": "est rerum tempore vitae\nsequi sint nihil reprehenderit dolor beatae ea dolores neque\nfugiat blanditiis voluptate porro vel nihil molestiae ut reiciendis\nqui aperiam non debitis possimus qui neque nisi nulla"
}
]
  • json形式で出力されて、見やすくなりましたね。

Kintoneでデータを登録するためのアプリを作成

  • JSONPlaceholderで取得したデータをkintoneのアプリに反映するための下準備をすすめます。
  • kintoneで新たなアプリを作成します。下図のようなアプリです。

  • 理由は、json placeholderから得られる情報が、userId(数値)、id(数値)、title(文字列)、body(複数行の文字列)だからです。
  • 得られる情報に合わせてテーブルを作成しないといけないとおもったのでこのようにしました。
  • tableというフィールドコードを含むテーブルに、userId, id, title, body列を含めてます。すべて列名とフィールドコードは同じにしてます。

kintoneのアクセストークンを取得

  • kintoneでアプリを作成したら、kintone REST APIのAPIトークンを取得します。
  • ひとまず全アクセス権をあたえるAPI トークンを生成して、メモしておきましょう。

アプリIDの確認

  • アプリIDは、アプリを開いた際のURLで確認できます。
  • たとえばhttps://1234567.cybozu.com/k/9/となっていたら、アプリIDは9となります。

Python Codeの作成

  • 準備が整ったので、Python Codeを作成していきます。
  • この辺はGPT4も活用しながら、頑張ってコードを作成してください。
: sample.py
1
2
3
4
5
6
7
8
9
10
11
12
13
14
15
16
17
18
19
20
21
22
23
24
25
26
27
28
29
30
31
32
33
34
35
36
37
38
39
40
41
42
43
44
45
46
47
48
49
50
51
52
53
54
55
56
57
58
59
60
61
62
63
import requests
import json

# Jsonplaceholderからデータを取得
url = 'https://jsonplaceholder.typicode.com/posts'
response = requests.get(url)
posts = response.json()

# userIdが1, 2の投稿のみ抽出
filtered_posts = [post for post in posts if post['id'] in [1, 2]]

""" # Jsonplaceholderから取得したデータ
filtered_posts = [
{'userId': 1, 'id': 1, 'title': 'sunt aut facere repellat provident occaecati excepturi optio reprehenderit',
'body': 'quia et suscipit\nsuscipit recusandae consequuntur expedita et cum\nreprehenderit molestiae ut ut quas totam\nnostrum rerum est autem sunt rem eveniet architecto'},
{'userId': 1, 'id': 2, 'title': 'qui est esse',
'body': 'est rerum tempore vitae\nsequi sint nihil reprehenderit dolor beatae ea dolores neque\nfugiat blanditiis voluptate porro vel nihil molestiae ut reiciendis\nqui aperiam non debitis possimus qui neque nisi nulla'}
] """

# kintoneの設定
API_TOKEN = 'xxxxxxxxxxxxxx' #書き換えてください
APP_ID = 'x' #書き換えてください
DOMAIN = 'xxxxxxxxxxxxxx.cybozu.com' # 書き換えてください
API_URL = f'https://{DOMAIN}/k/v1/record.json'

headers = {
"X-Cybozu-API-Token": API_TOKEN,
"Content-Type": "application/json"
}


# kintoneにデータを登録
for post in filtered_posts:
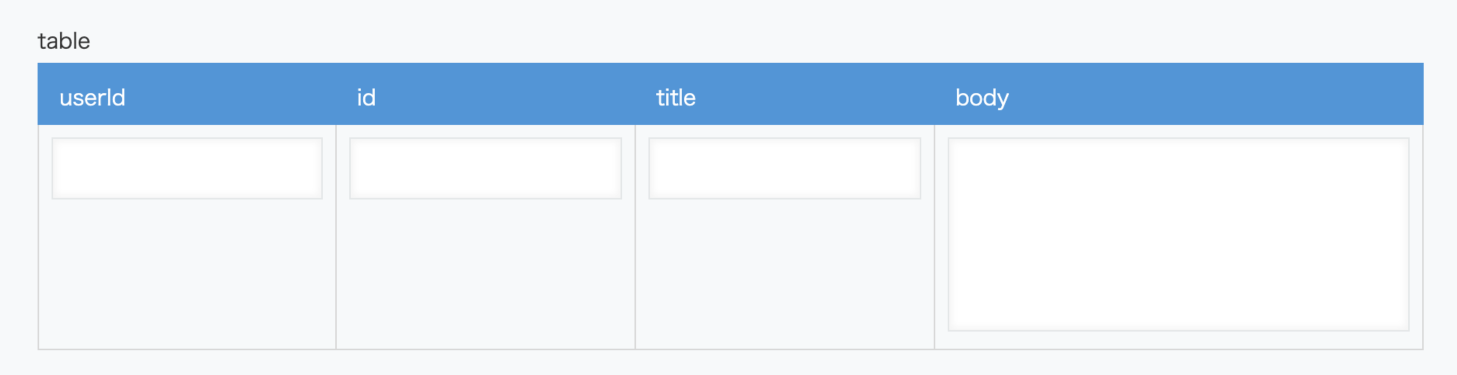
# テーブルフィールドデータの作成
table_data = {
"table": {
"value": [
{
"value": {
"userId": {"value": post["userId"]},
"id": {"value": post["id"]},
"title": {"value": post["title"]},
"body": {"value": post["body"]}
}
}
]
}
}

# レコード登録用データの作成
record_data = {
"app": APP_ID,
"record": table_data
}

# レコード登録の実行
response = requests.post(API_URL, headers=headers, data=json.dumps(record_data))
if response.status_code == 200:
print(f"Post ID {post['id']} successfully registered.")
else:
print(f"Failed to register post ID {post['id']}. Status code: {response.status_code}, Response: {response.text}")
print(f"Failed to register: {record}. Status code: {response.status_code}, Response: {response.text}")
  • python sample.pyコマンドを実行して、成功すると以下のようになります。
:
1
2
3
python python-kintone.py
Post ID 1 successfully registered.
Post ID 2 successfully registered.
  • ポイントをまとめます。
  • API_URL = fで始まる文のfは、Pythonのf文字列(f-strings、フォーマット済み文字列リテラル)を示しています。この機能はPython 3.6で導入され、文字列の中に波括弧{}で囲まれた変数や式を直接埋め込むことができるようになります。これにより、動的なデータを文字列の中に簡単かつ直感的に組み込むことが可能になり、コードの可読性や効率性が向上します
  • また36行目のtable_dataの箇所が、かなりネストが深い感じになってます。
  • もっとシンプルな書き方があれば教えていただきたいです。

まとめ

  • JSONPlaceholderのAPIから取得したJSONデータを、kintoneのテーブルに登録するPythonコードを紹介しました。
  • Pythonを活用して複数のAPIを連携する方法の参考になればと思います。

コメント