DjangoのUserモデルを使用してみる

DjangoのUserモデルを使用してみる

当ページのリンクには広告が含まれています。


DjangoでUserモデルを使用する方法をまとめます。

✓目次


Userオブジェクトとは

Userオブジェクトとは、認証システムです。Djangoアプリ開発に関わるユーザ情報を登録することができます。

登録ユーザのプロパティは以下の通りです。

  • username
  • password
  • email
  • first_name
  • last_name

本記事では、htmlファイル(signup.html)

のFormにHTTPメソッドを適用し、Userオブジェクトの取得方法をまとめます。

HTTPメソッドの適用

HTTPメソッドについては以下の記事でまとめているので参照ください。

Djangoで作成したHTMLファイルのformタグの部分にPOSTメソッドを適用する際は、formタグの内部にmethod='POST'と、csrf_tokenを記述します。

templates/signup.html
1
<form class="form-signin" method='POST'>{% csrf_token %}

これでPOSTメソッドでデータを送ることができます。

views.pyファイルでUserモデルをimportする

Userモデルは、Djangoがデフォルトで具備しているモデルであり、models.pyに自らモデルを記述する必要はありません。

まずは、Djangoの公式ドキュメントに従ってUserモデルをインポートします。

hogehogeapp/views.py
1
2
3
4
5
6
7
from django.shortcuts import render
from django.contrib.auth.models import User

# Create your views here.

def signupfunc(request):
return render(request, 'signup.html', {})

Userモデルからオブジェクトデータすべてを抽出する記述にしていきます。

hogehogeapp/views.py
1
2
3
4
5
6
7
8
9
10
from django.shortcuts import render
from django.contrib.auth.models import User

# Create your views here.

def signupfunc(request):
object_list = User.objects.all()
print(object_list)

return render(request, 'signup.html', {})

User.objects.all()という記述で、Userモデルのすべてのオブジェクトデータを取得できます。

取得して全オブジェクトデータをprint(object_list)として表示させます。

Userモデルをテーブル化してDB化(migrateコマンド)

以下の通りmigrateコマンドを実行。

makemigrationコマンドは、models.pyファイルに新しいモデルを定義していないので、実施する必要はありません。

terminal
1
2
3
4
5
6
7
8
9
10
11
12
13
14
15
16
17
18
19
20
21
22
docker-compose exec web python manage.py migrate
Operations to perform:
Apply all migrations: admin, auth, contenttypes, sessions
Running migrations:
Applying contenttypes.0001_initial... OK
Applying auth.0001_initial... OK
Applying admin.0001_initial... OK
Applying admin.0002_logentry_remove_auto_add... OK
Applying admin.0003_logentry_add_action_flag_choices... OK
Applying contenttypes.0002_remove_content_type_name... OK
Applying auth.0002_alter_permission_name_max_length... OK
Applying auth.0003_alter_user_email_max_length... OK
Applying auth.0004_alter_user_username_opts... OK
Applying auth.0005_alter_user_last_login_null... OK
Applying auth.0006_require_contenttypes_0002... OK
Applying auth.0007_alter_validators_add_error_messages... OK
Applying auth.0008_alter_user_username_max_length... OK
Applying auth.0009_alter_user_last_name_max_length... OK
Applying auth.0010_alter_group_name_max_length... OK
Applying auth.0011_update_proxy_permissions... OK
Applying auth.0012_alter_user_first_name_max_length... OK
Applying sessions.0001_initial... OK

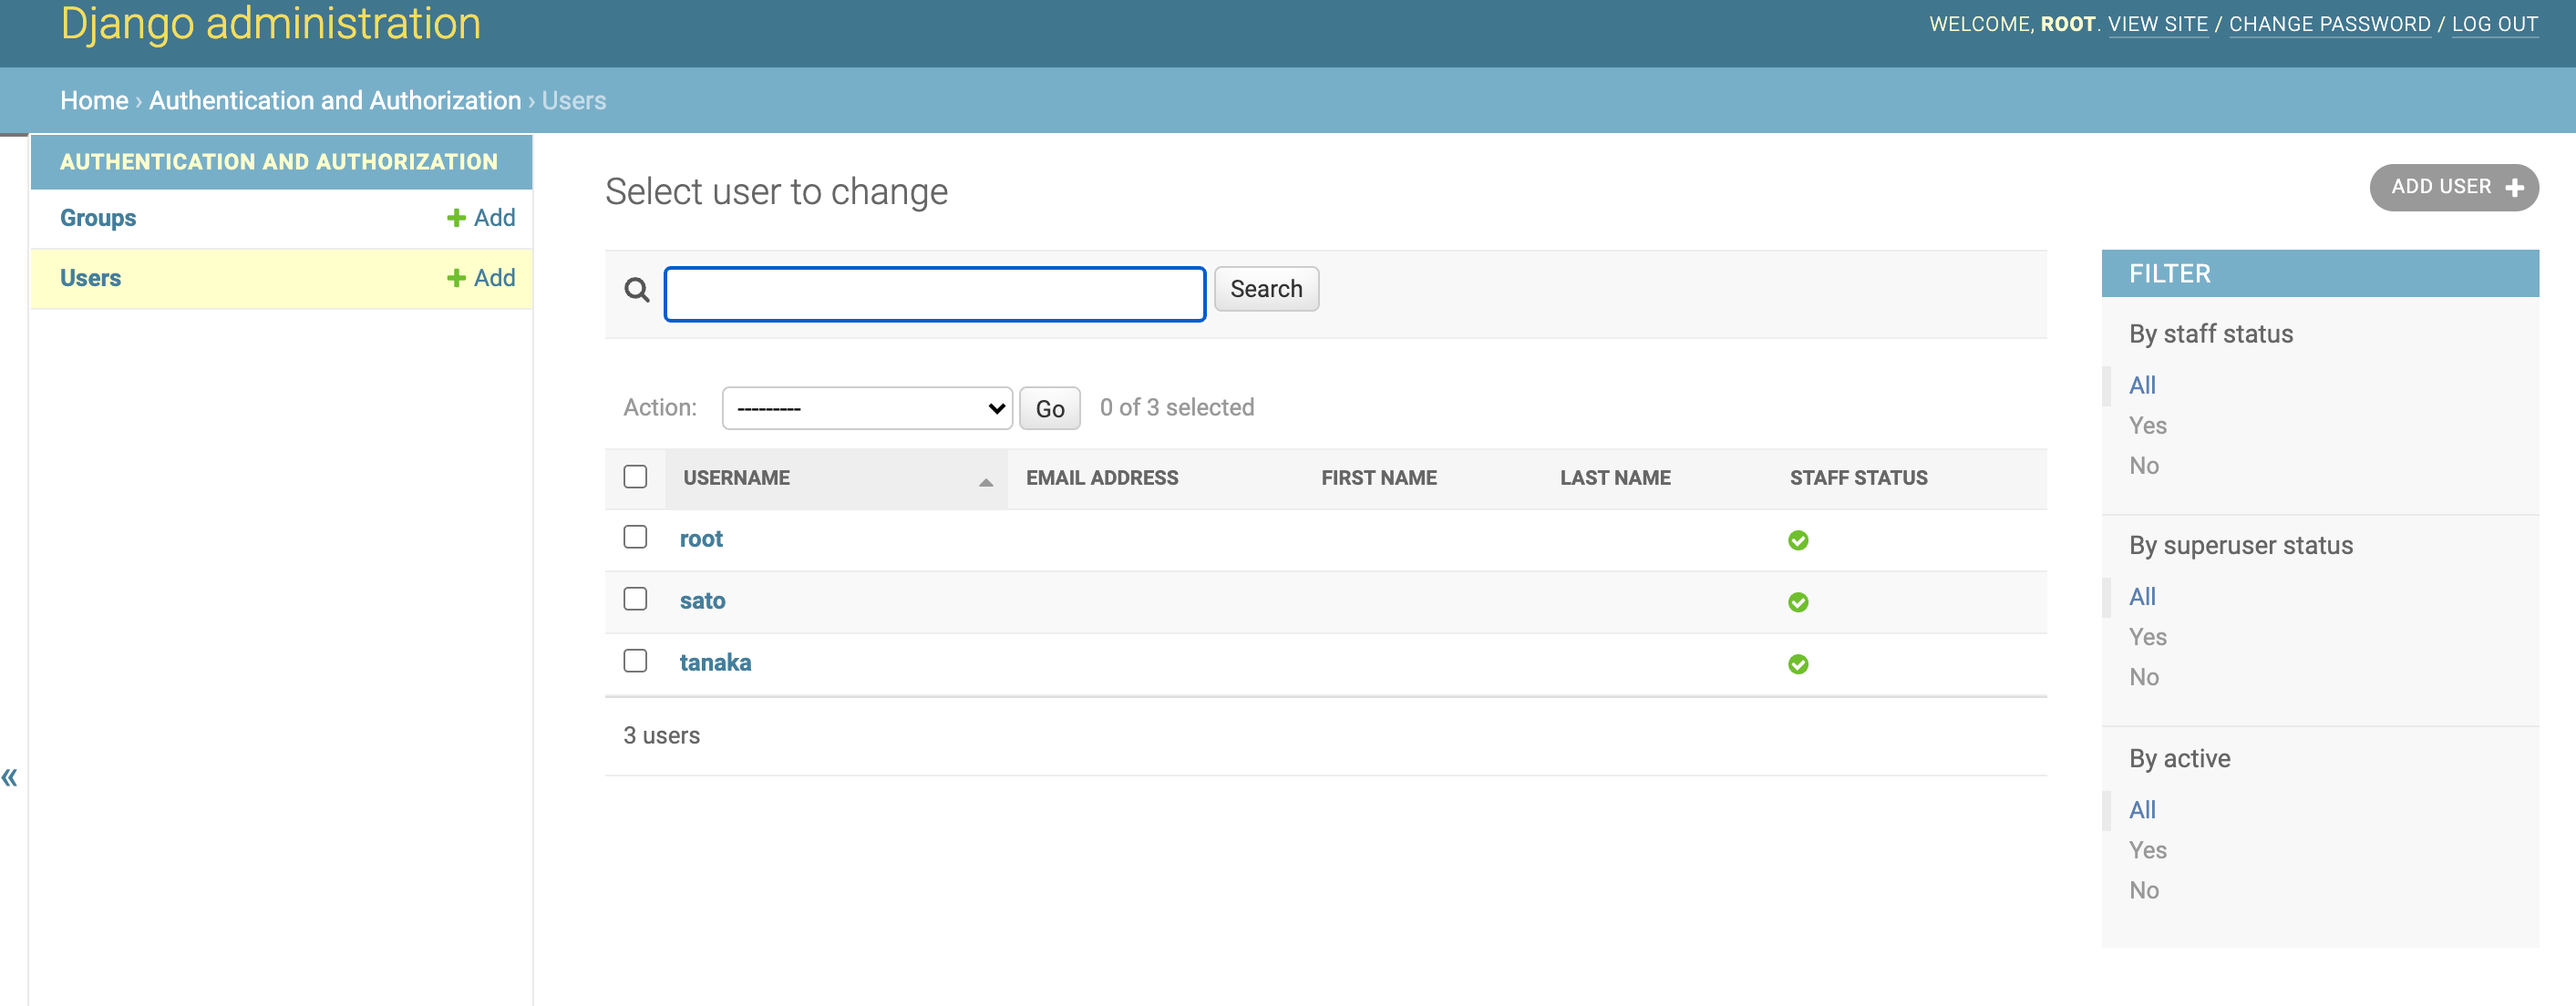
usernameやemailという記述が確認できます。Userモデルが作成されたように見えますね。

ユーザ登録

ここではsatoとtanakaというユーザを作成していきます。Email addressはtanakaさんだけbbb@example.comというアドレスを登録しておきます。他は、ひとまず何も入力せずEnterでOKです。passwordは適当にpasswordと入力しておきます。

terminal
1
2
3
4
5
6
7
8
9
10
11
12
13
14
15
16
$ docker-compose exec web python manage.py createsuperuser
Username: tanaka
Email address: bbb@example.com
Password:
Password (again):
This password is too common.
Bypass password validation and create user anyway? [y/N]: y
Superuser created successfully.
$ docker-compose exec web python manage.py createsuperuser
Username: sato
Email address:
Password:
Password (again):
This password is too common.
Bypass password validation and create user anyway? [y/N]: y
Superuser created successfully.

docker-compose psコマンドでWebとDBが起動していることを確認し、chromeなどのブラウザで、localhost:8000/adminにアクセスしてみましょう。ユーザ名はroot, パスワードはpasswordです。

localhost:8000/adminにアクセスしログインした際の様子

Userデータの表示

docker-compose upコマンドで、フォアグラウンドモードでコンテナを起動させ、localhost:8000/signupにアクセスして、GETメソッドを送ってみましょう。

Terminal上に、QuerySetというリストが確認できます。

terminal
1
web_1  | <QuerySet [<User: root>, <User: tanaka>, <User: sato>]>

次に、個別のデータを取得してみましょう。

個別のデータを取得したい場合は、views.pyにて以下のように.get(username = 'tanaka)'とすればOKです。

hogehogeapp/views.py
1
2
3
4
5
6
7
8
9
from django.shortcuts import render
from django.contrib.auth.models import User

# Create your views here.

def signupfunc(request):
object_list = User.objects.get(username = 'tanaka')
print(object_list)
return render(request, 'signup.html', {})

localhost:8000/signupにアクセスすると、tanakaというのがterminal上で確認できます。

terminal
1
web_1  | tanaka

次にtanakaさんのemailアドレスを取得したい場合は、取得したオブジェクトに対して、emailというプロパティを指定すればOKです。

hogehogeapp/views.py
1
2
3
4
5
6
7
8
9
from django.shortcuts import render
from django.contrib.auth.models import User

# Create your views here.

def signupfunc(request):
object_list = User.objects.get(username = 'tanaka')
print(object_list.email)
return render(request, 'signup.html', {})

localhost:8000/signupにアクセスしてGETメソッドを送信してterminalを確認してみましょう。

terminal
1
web_1  | bbb@example.com


Djangoをより深く学びたい方へ(Udemyのオススメ講座)

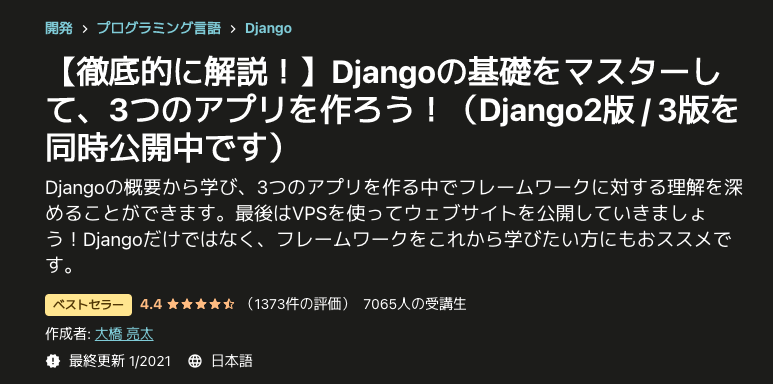
【徹底的に解説!】Djangoの基礎をマスターして、3つのアプリを作ろう!(Django2版 / 3版を同時公開中です)

こちらは大橋亮太先生のUdemy講座です。具体例をたくさん入れた解説が好評であり、「なぜ」の説明が丁寧です。

コメント